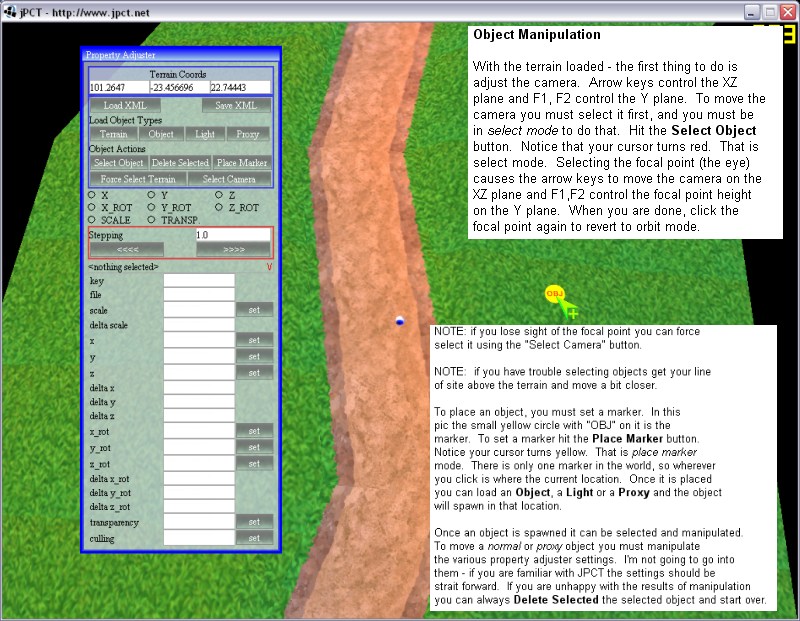
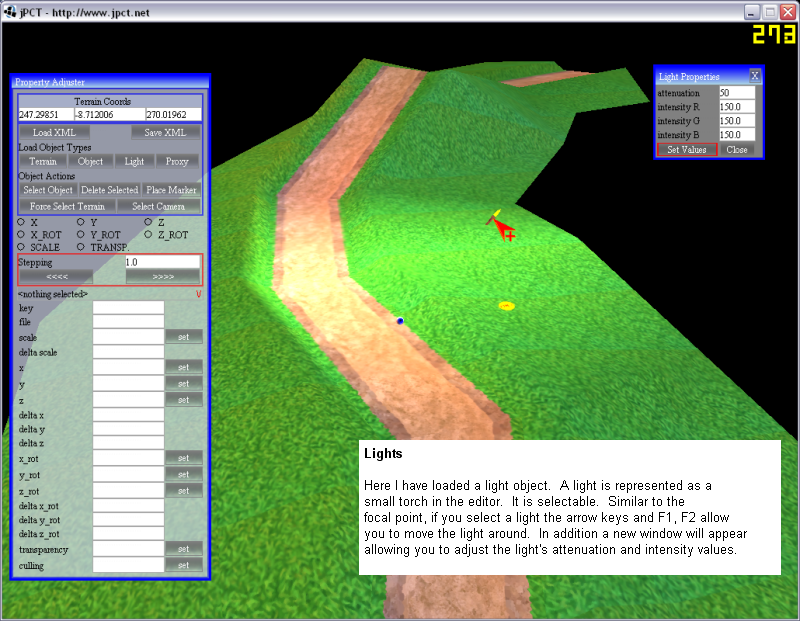
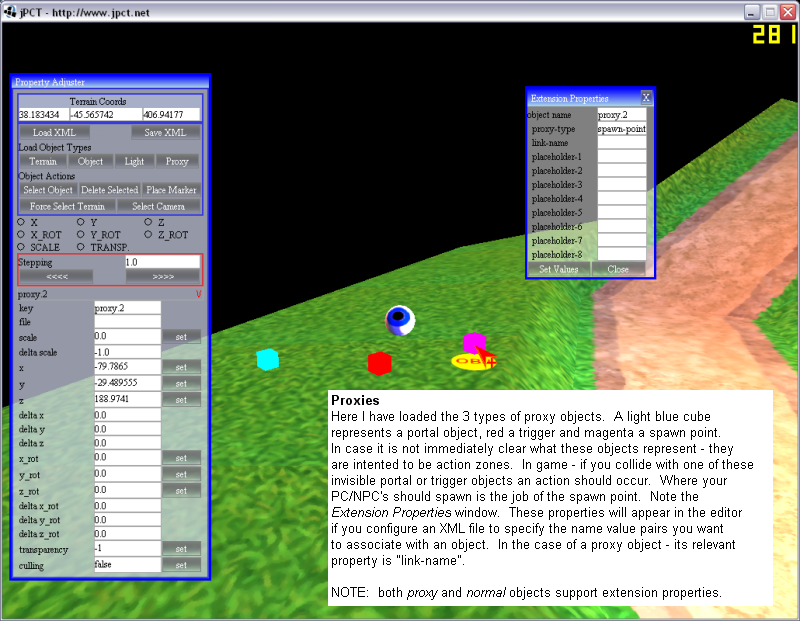
Folks, I've sent the release to Egon (with source code). Here is a test scene I created with the revised Camera code. Note the stacked crates and trees of various scale etc. It only took me about 10 minutes to create the scene. Once you get used to the tool manipulating objects and lighting is pretty easy. The camera is still slightly annoying but its much better than before. I've included this scene in the release (just load "final.xml" in the load XML dialog). Load that up and select the various objects and check out the settings on each. Before you try it out though -
please read the notes below the image.
BTW - all the models were free downloads from Turbosquid - so you can do whatever with them.

CHANGES TO THE CAMERA:
The functionality is largely unchanged from what I wrote above, but I did redo the camera.
The controls are as follows:
FOCAL POINT MOVE FORWARD - VK_UP
FOCAL POINT MOVE BACKWARD - VK_DOWN
FOCAL POINT ROTATE LEFT - VK_LEFT
FOCAL POINT ROTATE RIGHT - VK_RIGHT
FOCAL POINT UP - F1
FOCAL POINT DOWN - F2
FOCAL POINT ZOOM IN - VK_PAGE_UP
FOCAL POINT ZOOM OUT - VK_PAGE_DOWN
CAMERA ANGLE UP - VK_HOME
CAMERA ANGLE DOWN - VK_END
A FEW QUIRKS:
- I noticed when I switched machines that depending on the machine the
zoom can be really slow. You can tweak the zoom
factor in CameraManager.java.
- When you place a marker it is best to get out of "place marker" mode, since selecting in the Fenggui interface can
cause the marker to move.
- Trees that are based on planes can only be selected from one side! Annoying...
INSTALL:
This release assumes you are extracting the zip to "c:". All the paths in the XML are specified as c:\devkit2...
If that is not acceptable you'll have to change the following files:
c:\devkit2\build.bat
c:\devkit2\build\resources\devkitConfig.xml
c:\devkit2\build\user\xml\final.xml
RUNNING THE FIRST TIME:
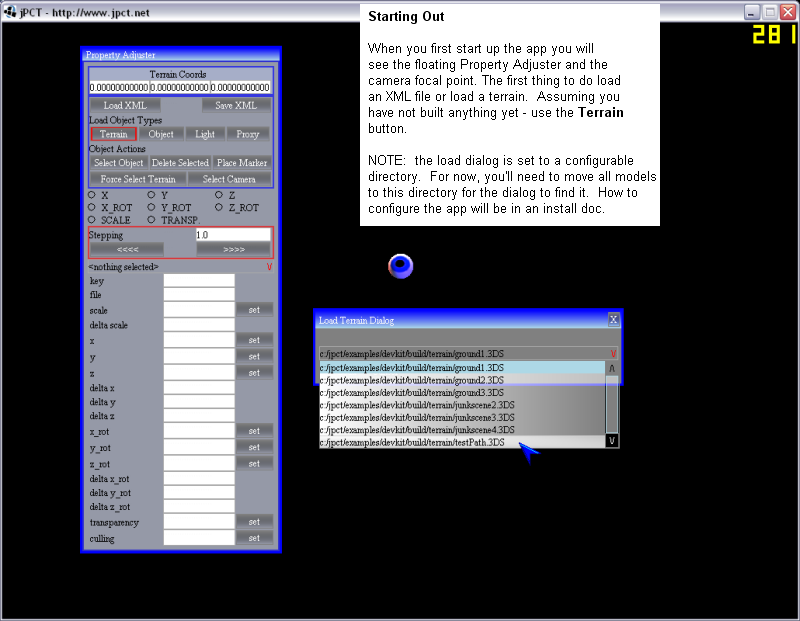
Just run it and load the XML file I've released with the kit. Select the various objects in the scene and check out the settings.
HOW TO START YOUR OWN SCENE:
I havent put any file explorers into the GUI yet - so here are the workarounds to get going. Its pretty painless.
Not that Models, terrain and xml persistence directories are specified in C:\devkit2\build\resources\devkitConfig.xml.
(the "textures" directory in you'll see in that file is not functional).
1. To save as XML, you'll need to create a blank XML file in the save directory - which right now is
C:\devkit2\build\user\xml. I know its cheesy but that's as far as I've gotten. When you go to save the
list box will see your file and you can select it.
2. Put any models you want to use in the models directory.
3. Put any terrain you want to use in the terrain directory.
4. All textures are loaded from C:\devkit2\build\resources\textureConfig.xml. Any textures you want to access
in the devkit need to be precached from that file. I'll be adding a texture explorer at some point.
5. The property extensions config file is C:\devkit2\build\xml\ext_template.xml. Note that once you start a scene
it will be dependent on that file's state, so you should just change it once!
If you have any problems, suggestings or whatever please post them here and I'll try to help.
Thanks!
- Todd

 .
.
 - I've got to rethink what I'm doing there. Its really annoying. I mean reeeaaaallly annoying. I'll fix it. A few more days. Other than the camera though - this thing really works well!


